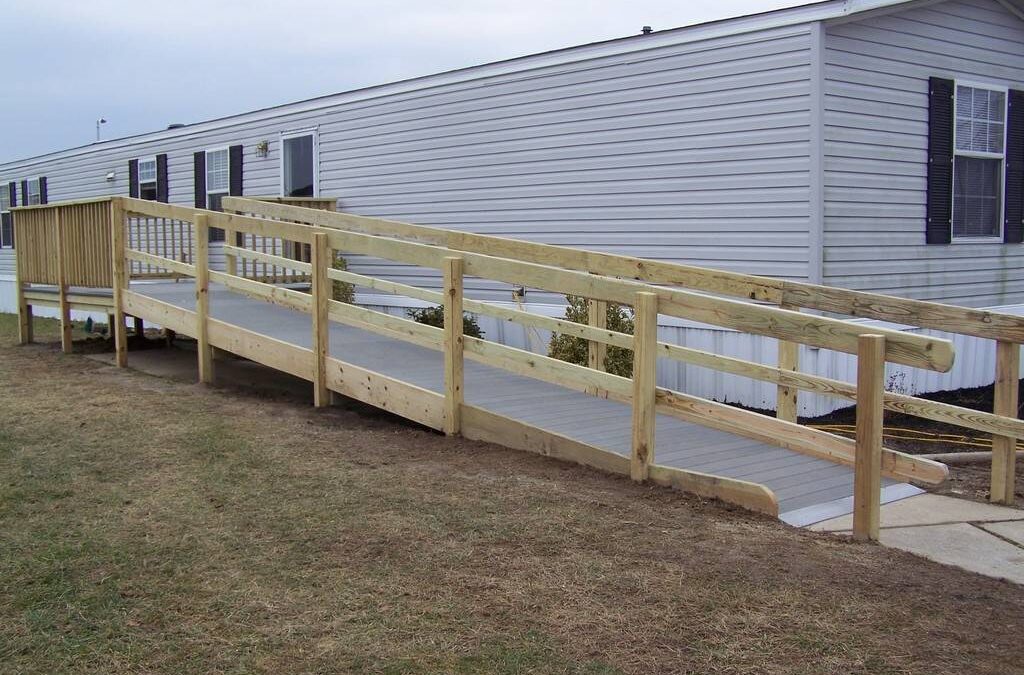
A portable wheelchair ramp is feasible in situations where the permanent ones are not. Like if you need to transport the wheelchair from shops to shops while shopping, you’d need the portable ramps. The store-made aluminum ramps can be expensive. You can also make wooden ramps at home by following this guide. But you must know that these portable wooden ramps for wheelchairs need someone to guide the person sitting in the wheelchair.
Materials Required for Building a Portable Wheelchair Ramp
- Wooden beam joists: 1-2 (depending upon length)
- Metal Sheet (it’ll be cut into 4 pieces of the wood joist’s width and 6 inches in length)
- Handles: 2
- Screws: 18
- Drill gun
- Saw
- Gloves
- Triangular Ruler
- Tape measure
- Marking pencil or pen
Steps for Building a Portable Wheelchair Ramp
Step 1: Calculate the Length of Ramp
Ideally, the length of the ramp must make the ascending and descending comfortably for the person sitting in the wheelchair. The slope is different for a ramp used for a wheelchair with a person in it and a ramp used for an empty wheelchair. The slope for a ramp used for an occupied wheelchair must be 2:12. It means one foot of the ramp, that is 9.5 degrees of incline, is required for every 2″ of vertical rise.
Contrarily, the slope of a ramp used for an empty wheelchair must be 3:12. It means one foot of the ramp, which is 14.5 degrees incline, is required for every 3″ of vertical rise. So, the vertical rise is measured from the ground to where the ramp would sit on the threshold, stairs, or vehicle. Measure in inches. Divide it by 3, or for an occupied wheelchair ramp, divide the taken measurement by 2.
Step 2: Cut the Wood Joist
These planks of wood are very strong. They can cause splinters. So, you would need to handle them with precaution. Always wear gloves whenever you have to cut or handle these beams. After you would have determined the required length for the ramp, mark this length on the wooden beam using a tape measure.
As these wooden beams are very long, cutting the beam in half would be adequate for a portable wheelchair ramp. Cut it by taking all the safety measures you need. Mark a straight line by using a triangular ruler. Cut the board at an angle of 90 degrees from the length of the board.
Step 3: Cut the Landing
One end of the ramp will rest upon the top of the step while the other end will rest upon the ground. Cut the base of the end of the ramp that has to rest upon the ground. Cut this base at an angle in such a way that can flatly rest on the ground. Now, cut the end that will rest on the step.
Step 4: Reduce the Ledge of the Ramp
The edge of the ramp that rests on the top has a short ledge and the wheelchair will need to ride over it. While doing so, there is a chance of the ramp getting slipped away. To prevent this, you can screw a short piece of metal on the edge of the ramp. Use four screws to screw the metal piece, for making the attachment strong.
Moreover, you may feel that the edge of the ramp resting on the ground can also cause a ledge to the wheelchair. In this case, you can attach a metal piece to this end of the ramp as well. It will make it smooth for a wheelchair to get over the ramp.
Step 5: The Carrying Handles
As the wood joists are very rough and hard, it can be difficult to handle them. But the carrying handles can help you out in this case. The carrying handles must be attached to the outside edge of the portable wheelchair ramp. These handles will prevent your hands from getting splinters.
Step 6: Using the Ramp Properly
You can’t use these ramps permanently as they can slip. You must place the boards parallel to each other. Apart from that, a person should be standing at the end of the ramp to make sure that it doesn’t slip.

